


How to Pitch a Baseball
Everyone holds their breath when the pitcher takes the mound. The crowd quiets, the batter digs in, and then… the wind up, the release, the crack of the bat. In that split second, the ball blazes past the batter at impossible speeds before it’s already nestled in the catcher’s mitt.
Such is the power of a well-executed pitch.
But how do you learn how to pitch a baseball like that? Whether you’re an adult picking up a glove again after years away or a parent coaching your young athlete through their first season, learning to pitch well starts with mastering the basics.
Let’s break down the steps of how to pitch a baseball for beginners, so you can get to know your way around the mound as a pitcher. This guide details tips and tricks on some of the best techniques for beginner pitchers to develop and maintain strong pitching mechanics.
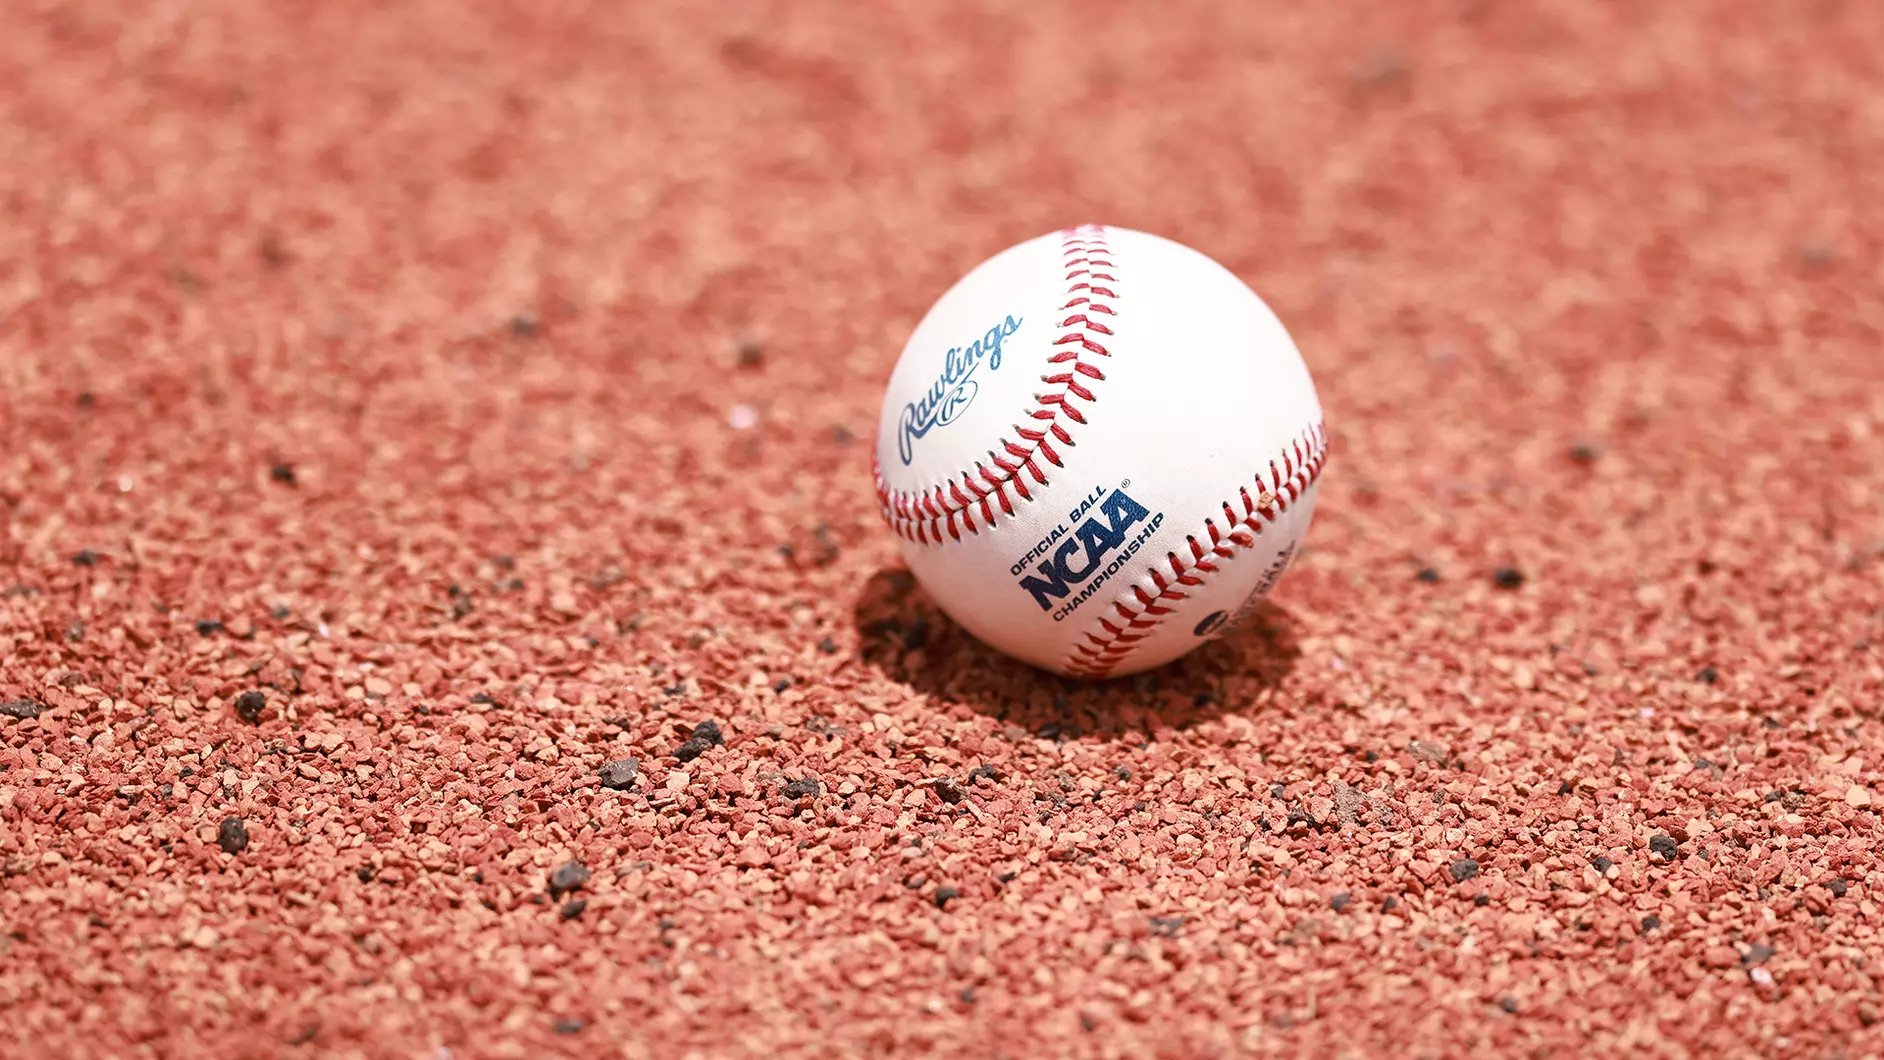
Baseball: America’s Pastime
Baseball is an iconic American pastime, with similar games existing in schoolyards since the 18th century. It didn’t officially become “baseball” until 1845, when Alexander Joy Cartwright and the New York Knickerbocker Baseball Club established the foundational rules.
It’s a bat-and-ball sport played between two teams on a diamond-shaped field where teams alternate between batting and fielding. The pitcher stands at the center of everything, hurling the ball toward the home plate while the other team’s batter tries to hit it. The ultimate goal is to score more than the opposing team by hitting the ball and advancing around the bases.
The pitcher can throw hard and fast, but a truly great pitcher controls the pace and flow of every play.
The Right Grip for the Right Pitch
Before you even think about your wind-up, you’ll need to learn pitching step by step. It all starts with learning how to hold the baseball.
There are two types of grip for your pitch:
- Four-seam (speed and control) – Place your index and middle fingers across the widest part of the horseshoe seam, thumb directly underneath for balance. This creates a backspin that keeps the ball traveling straight with less air resistance.
- Two-seam (more movement but less momentum) – This grip is more relaxed, but still firm. Rest your fingers along the narrow seams for a spin pattern that causes the ball to sink or tail as it approaches the plate.
Achieving a Balanced Starting Position
A good stance is foundational for a great pitch.
Stand on the rubber with your pivot foot (throwing-side foot) parallel to it. Your stride foot (opposite foot) should rest slightly behind. Keep your knees slightly bent, your weight centered, and your shoulders square to the home plate. Hold your glove in front of your chest, with the ball nestled inside.
Once you have your stance, there are two legal starting positions to use, depending on the base runners:
- The windup – Position with your pivot foot on the rubber, body facing the batter. As you start your motion, step back or sideways with your non-throwing foot. This approach works best when the bases are empty since it takes more time to complete, but adds more momentum to your ball.
- The set position (stretch) – Place pivot foot against the pitching rubber while your body turns sideways—lefties face first base, righties face third. Hold the ball in front of you at chest level with both hands. Use this position when runners are on base, as the quicker delivery helps prevent stolen bases.
Developing a Powerful Pitch
Now that you’ve got your starting stance, it’s time to turn that potential energy into explosive force.
The Windup and Leg Lift for Momentum
Start your pitch by turning your pivot foot 90 degrees to the rubber of the plate.
Next, lift your stride leg until your thigh is parallel to the ground, also at 90 degrees. Finally, keep your head centered over your back leg. Feel the weight settle into your back leg before you release to gather momentum.
The Controlled Stride and Hand Break
As you drive toward home plate, lead with your lower half. Control your stride for a clean weight transfer from back to front.
Simultaneously, your hands separate during the “hand break.” Rotate both thumbs downward toward your thighs to help your throwing arm get into the proper position while closing your shoulder toward the target.
The Throwing Sequence
As you plant your front foot, your upper body’s momentum will catch up. Your throwing arm swings into the “T-Position”—arms forming a T with your body, your throwing elbow level with your shoulder. Keep that elbow held high, since dropping it lower will put stress on your shoulder and reduce the velocity of your pitch.
As you throw the ball, release it in front of your shoulder. Your wrist should snap forward, fingers pulling down through the ball to create the backspin.
Once you release the ball, let your arm continue its natural path across your body so the momentum can dissipate safely. Your back leg should kick up and around, finishing with your body square to the home plate and ready to field.
Refining Your Skillset: Arsenal, Strategy, and Control
If you’re looking to enhance your pitching mechanics even further, combine your physical skills with your knowledge of the game.
Building a Diverse Pitch Arsenal
Try these different pitch variations to keep batters on their toes:
- Fastball – The four-seam grip on the fastball will overpower hitters with speed, while the two-seam keeps them off balance with unpredictable movement.
- Breaking balls – Curveballs and sliders are excellent ways to confuse hitters. The curveball drops sharply, making hitters swing over the top (where the slider cuts laterally), jamming right-handed hitters or backing left-handed hitters off the plate.
- The changeup – This pitch is thrown with the same speed as a fastball, but reduces velocity as it approaches. It’s meant to disrupt a pitcher’s timing, resulting in a swing and miss or a weak hit.
Focusing on Control Over Velocity
More than speed, learning how to consistently hit specific spots in the strike zone will significantly improve your pitch. A 75-mph fastball hitting the corner of the strike zone is more effective than a 90-mph heater down the middle.
Consider factors like whether you can throw to the outside corner on command or elevate when you need a strikeout. Throwing hard impresses people, but hitting the weak spots in a batter’s defense wins games.
Developing Mental Toughness and Pre-Pitch Routine
Any decent pitcher needs the ability to shake off a bad pitch or a home run and refocus for the next play.
Develop a pre-pitch routine to help you maintain focus and composure under pressure. Some pitchers take a deep breath, look at their target, and visualize the pitch. Others adjust their cap or tap their glove. Find what centers you and repeat it every single pitch.
Honing Your Skills with Essential Drills
The following drills will help you build muscle memory and learn to pitch the right way, every time.
Improve Arm Action and Follow-Through with a Towel Drill
Use a towel drill to improve your follow-through. Swap the baseball for a towel and run through your throwing motion. Snap the towel forward at a release point, focusing on proper arm path and follow-through. The sound of the towel cracking indicates a proper wrist snap.
Enhance Control and Accuracy
Perform these drills to improve your control and accuracy:
- Target drill – Set up zones using tape or targets and aim for specific spots. Start close and gradually increase the distance.
- Ground Pitching – Pitch from a flat, level surface rather than the mound. This drill removes variables and lets you focus purely on arm action, release point, and follow-through. It's also easier on your arm during high-volume practice sessions.
Build Lower Body Strength and Balance
These drills will help you develop lower-body strength and balance, which is foundational for good pitches:
- Knee Drill – Pitch from your knees to remove the lower half from the equation and help you develop proper arm action.
- Stride Drill – Practice your stride without throwing. Focus on your foot placement, balance, and hip rotation.
- Balance Beam Drill – Better balance leads to better control. Walk a line or balance beam to improve stability.
Optimizing Performance and Preventing Injury
Training safely and efficiently optimizes your performance and keeps you on the field for the long haul. With that in mind, consider these factors when building sustainable training habits.
Critical Mistakes to Avoid
Watch out for these common errors that will negatively affect your performance:
- Incorrect posture – Leaning too far forward or backward disrupts your balance.
- Inconsistent delivery – Changing your pitch up too often can make it difficult to develop command.
- Overstriding – Landing too far toward home plate kills momentum and stresses your pitching arm.
- Poor grip – Holding the ball incorrectly affects its spin, movement, and velocity, making your pitches less reliable.
Essential Arm Care and Pitch Count Guidelines
Always complete a proper warm-up before throwing to avoid injury. Start with arm circles and stretching, then gradually increase your throwing distance and intensity during practice. Your arm should always feel loose and ready before a game. After pitching, cool down with light throwing and stretching.
You’ll also want to follow pitch count limits and mandatory rest days. Strictly adhering to these rules can help avoid overuse injuries.
You should also never throw when your arm is sore. Pain is your body’s warning signal, and ignoring it leads to more serious injuries that can sideline you for months.
For athletes of all ages near the DC Metro area, The St. James sports complex in Springfield offers premium post-workout recovery services for injury rehab and quicker muscle recovery at Courted by The St James.
Pitch Like a Pro with The St. James
A balanced, repeatable delivery separates good pitchers from great ones. Master your mechanics now and stay consistent with your approach to achieve more strikes, improve your movement, and keep your arm healthy.
Looking for one-on-one support and guidance as you learn to pitch like a pro? Explore The St. James teams, leagues, and youth baseball training in VA. At The St. James, you can dive deeper into pitch training or youth baseball programs, like our specialized position training for athletes ages 8-14.
If you live in DC, Maryland, or Northern Virginia, take advantage of our world-class facilities, experienced coaching staff, expert instruction, and supportive community. Explore membership options and schedule a tour today!
TheSt. James Blog is your go-to source for health, fitness, and wellness with resources on the real ROI of private lessons, benefits of assisted stretching, and how to help student athletes cope with muscle soreness.
Sources
History. Who Invented Baseball? https://www.history.com/articles/who-invented-baseball
MLB. Windup Position. https://www.mlb.com/glossary/rules/windup-position
MLB. Set Position.